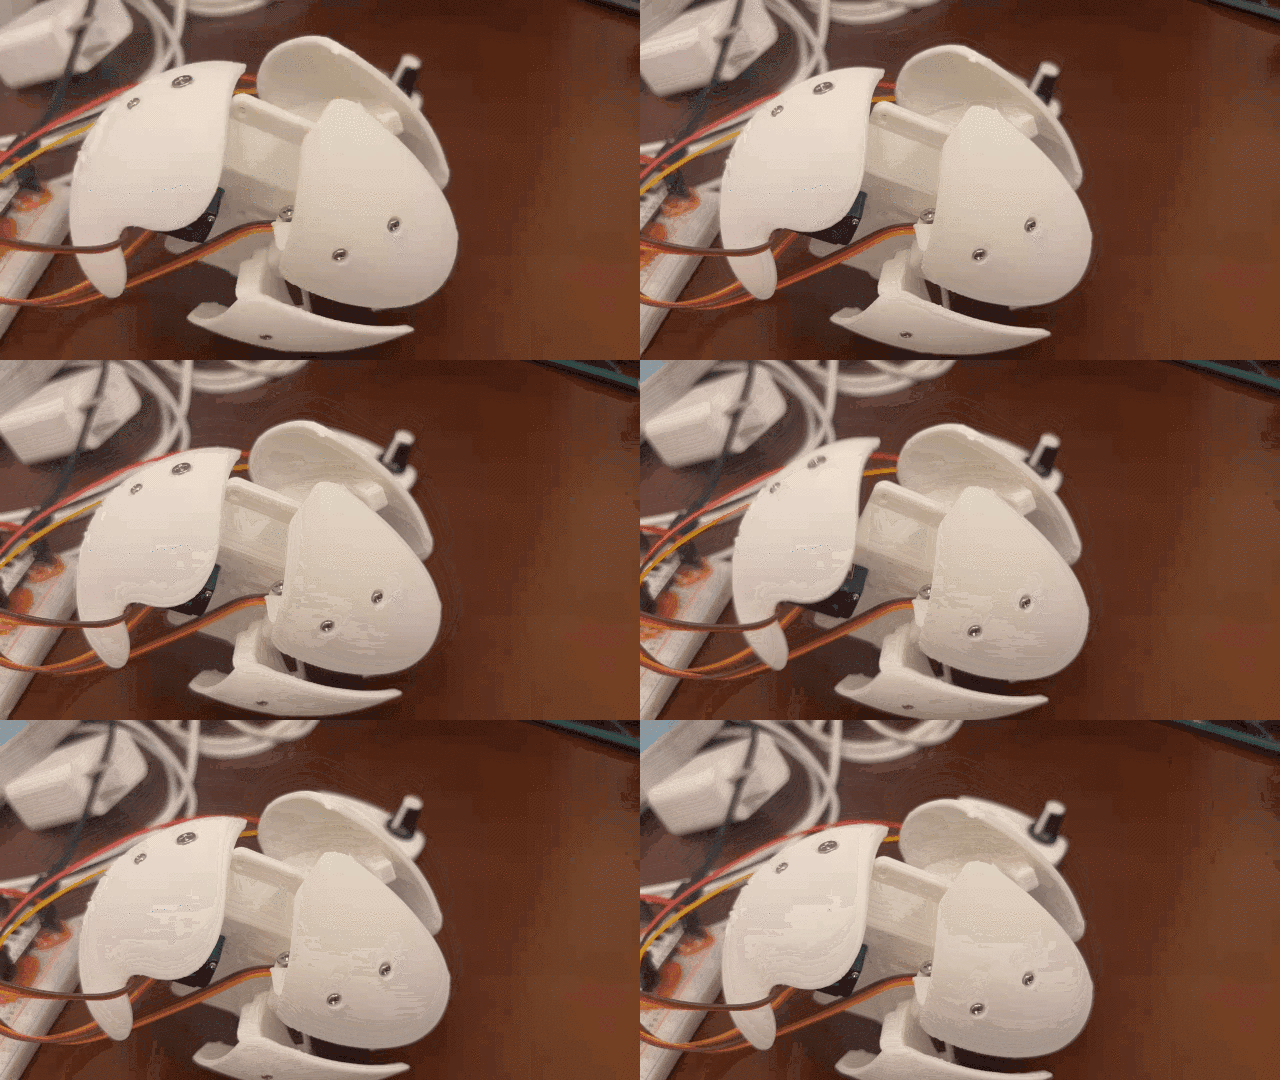
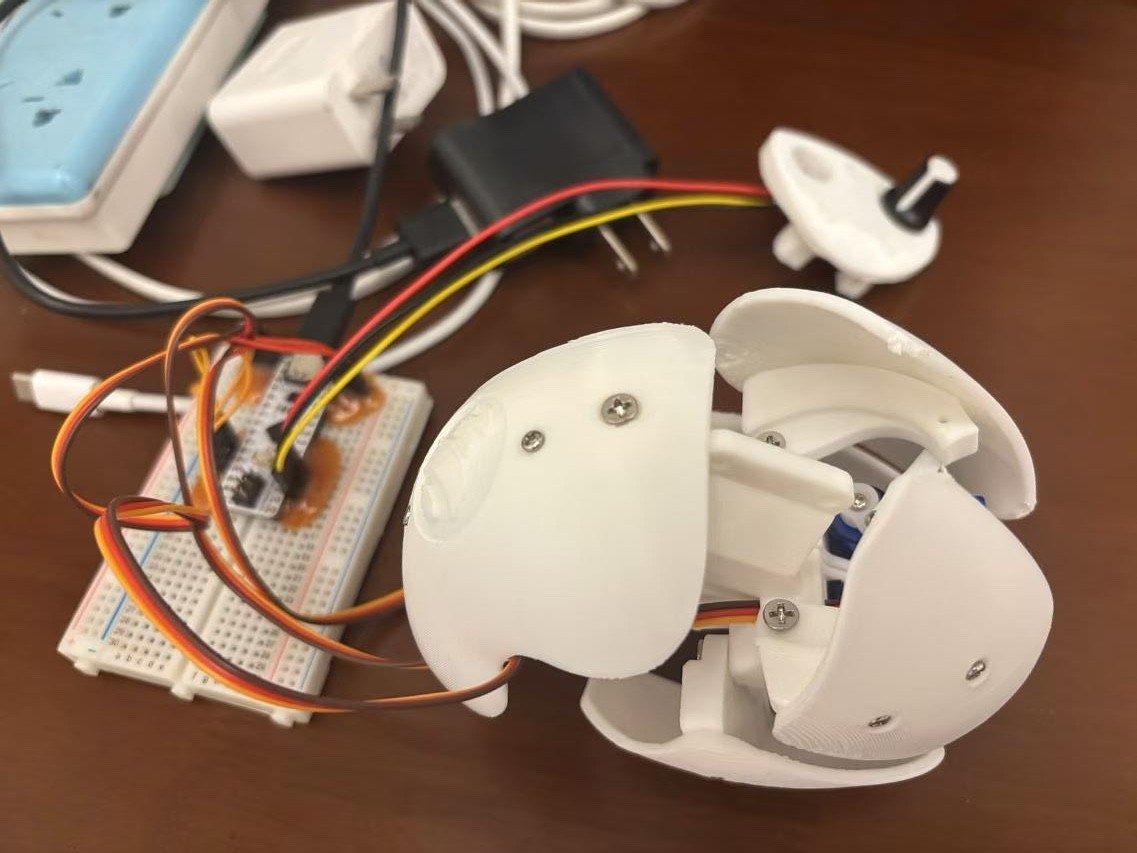
Project Introduction
This project involves creating a 3D-printed electronic heart, driven by an Arduino Nano C to control an MG90 servo motor. The servo moves the 3D-printed shell, simulating the beating of a heart.

Materials Needed
M26 self-tapping screws, M310 self-tapping flat head screws (several)
Arduino Nano C (type-C 5V1A power supply)
The original motherboard is an Arduino Micro, but since I had a similar-functioning Arduino Nano C, I used it as a substitute. In terms of functionality, the two are quite similar.
MG90 servo motors *3
The original design used a servo driver board, but after analysis, I determined that both Arduino boards can directly drive the servos, so I removed this part.
Potentiometer
Wires (several)
3D Printing
The 3D printer used is the Bambu Lab P1P.
The 3D printing material used is Bambu Lab PLA Biasc.
There are no special requirements for printing, except that the components must have reasonable high resolution and strength. The default printing settings are sufficient.

Assembly and Debugging
- Install the three servos onto the base and thread the servo wires through the reserved holes.
- Drill holes and cut the servo plates, then connect them to the printed linkages with screws. Afterward, fix the servo plates and linkages to the servos and the shell.
- Adjust the tightness of the screws to ensure that all parts are movable.
- Install the potentiometer in a suitable position and connect the wires from the servos and potentiometer to the Nano C.
- Program the servos to rotate and simulate the heartbeat.
Conclusion
By using the Arduino Nano C to control the movement of the servos, the heart can currently simulate a real heartbeat. In the future, I may use this device to simulate different heart conditions. At the same time, I am considering whether, with the ongoing development of brain-machine interfaces, it might be possible to connect the artificial heart to the nervous system, allowing it to better simulate the function of a natural heart.
Reference: https://www.instructables.com/Silicone-Skin-3D-Printed-Realistic-Animatronic-Hea/


作品介绍
本次制作的是一个3D打印电子心脏,使用arduino nanoC驱动MG90舵机,带动3D打印的外壳让它模拟心脏跳动
制作介绍
准备材料
M26自攻螺丝,M310自攻沉头螺丝 若干
Arduino nanoC(type-c 5V1A供电)
原版的主板是Arduino Micro,由于手边有相似功能的Arduino nanoC,所以作为替代。在功能实现上,与原版相比俩者功能相似。
MG90舵机*3
原版使用了舵机驱动板,我分析后觉得arduino的俩个主板都可以直接驱动舵机,所以去掉了这个部分。
电位计
电线 若干
3D打印
3D打印机为拓竹P1P
使用的3D打印耗材为拓竹的PLA biasc
打印没有特别的要求,只是组件必须具有合理的高分辨率和高强度,使用默认打印设置即可。
组装与调试
- 安装三个舵机到底座上,将舵机线穿过预留的孔位。
- 将舵机盘打孔、剪切、与打印的连杆用螺丝连接在一起。然后将舵机盘与连杆分别固定到舵机与外壳上
- 通过控制螺丝的松紧,让各个零件处于可活动的状态。
- 将电位器安装到合适位置,将舵机与电位器的线连接到nanoC上。
- 通过编程控制舵机转动,模拟心脏的跳动。
总结
使用arduino nanoC控制舵机的转动,目前心脏可以模拟出真实的心脏跳动。之后我有可能使用该设备来模拟不同的心脏状况。同时我也在想随着脑机接口的不断发展,是否可以将人工心脏连接到神经系统,使它们更好地模拟自然心脏的功能。
原版制作教程:https://www.instructables.com/Silicone-Skin-3D-Printed-Realistic-Animatronic-Hea/
 网站备案号:ICP备16046599号-1